Making Pine needles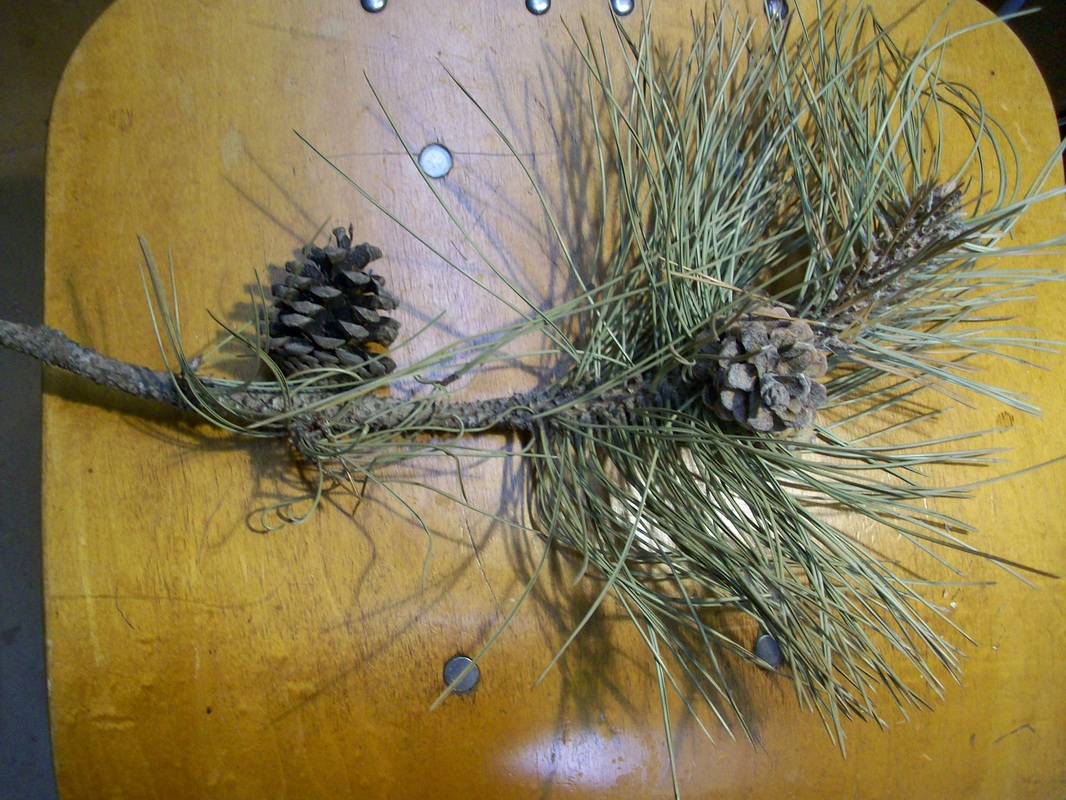
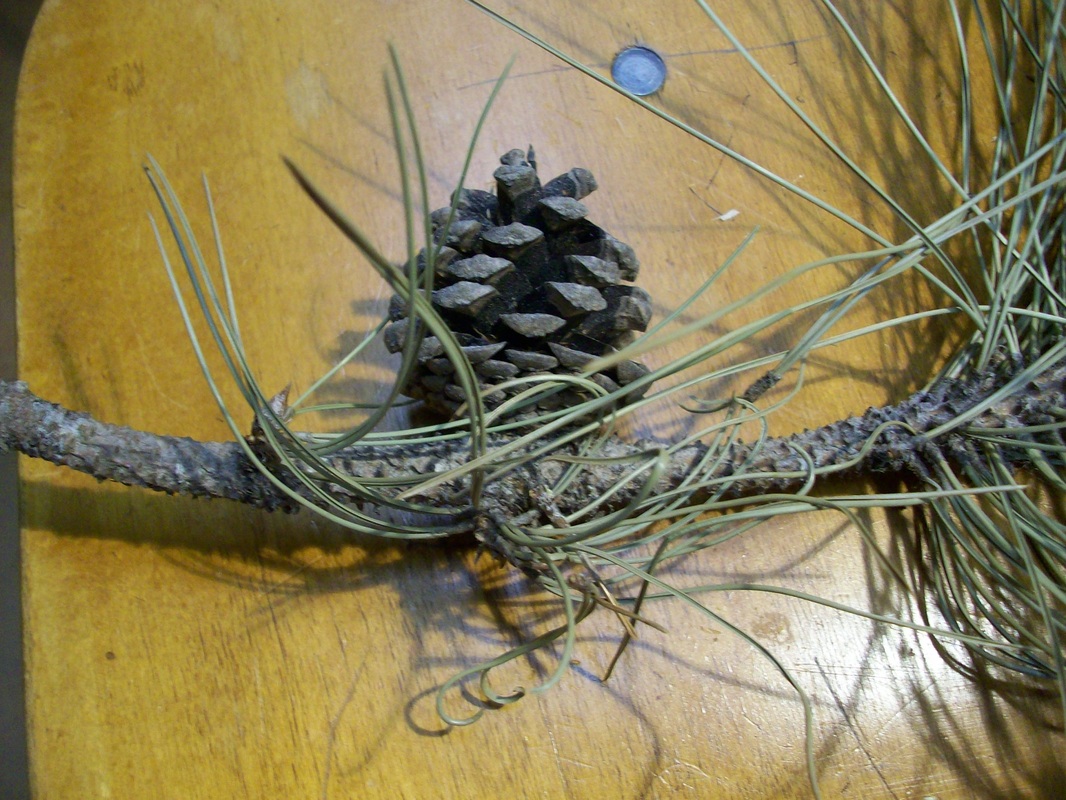
This is a branch I collected as a go by. I think it is a long leaf pine. Amazing number of needles. So I decided to try and figure out a way to make a lot of them and paint then in a large group. These have dried out and have more curl than a live ones but even the alive ones have a bit of a curl .
First Step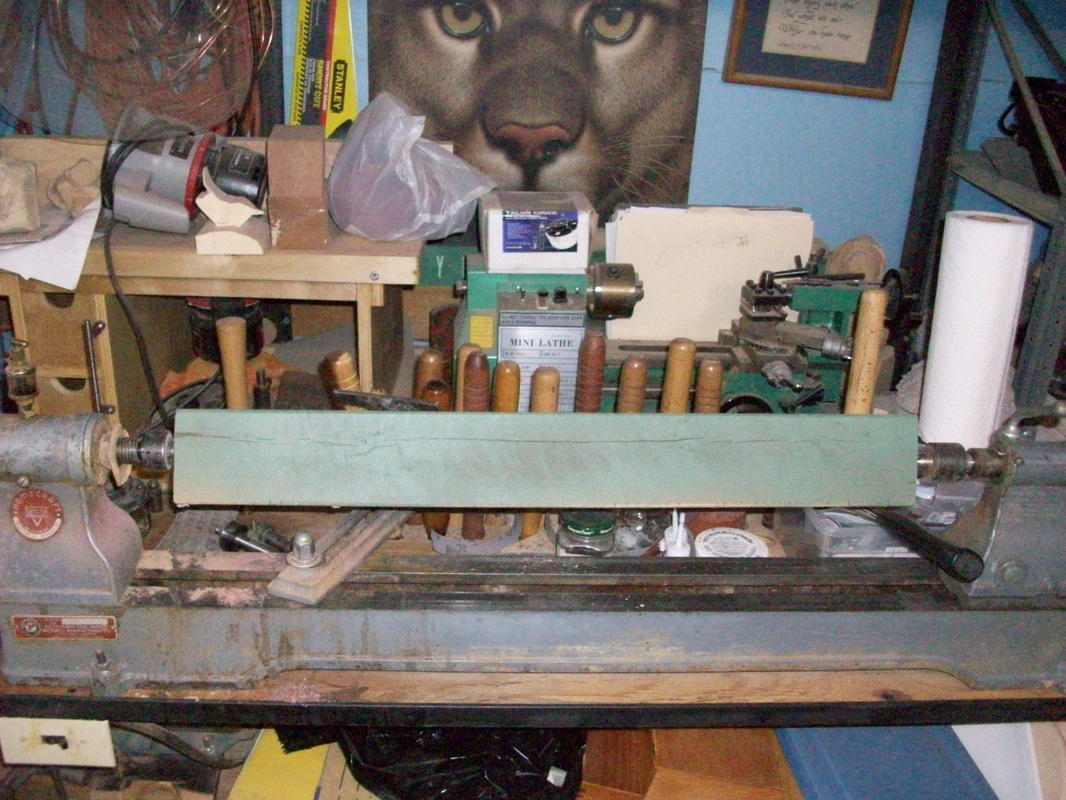
First step is to get set up, using my lathe as a holder for the 2x4.
NO I do not run the lathe , but turn it by hand to wrap the wire around it. You will need someone to hold the spool and keep a tension on the wire as you wrap it. This set up made about 300 needles. You get 2 needles per wrap. Use a 2 sided carpet tape on top of the 2x4 edge to hold the wire in place after you sand them off. 2nd Step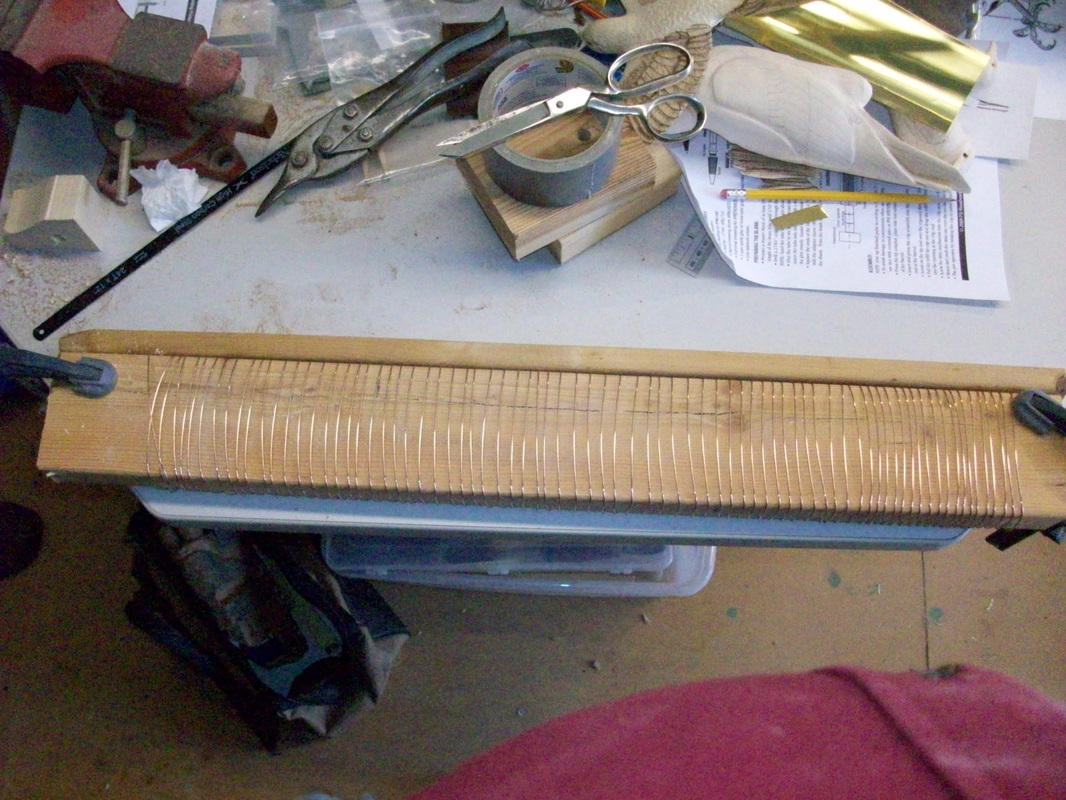
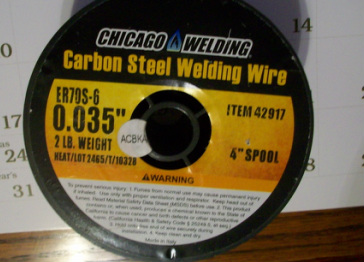
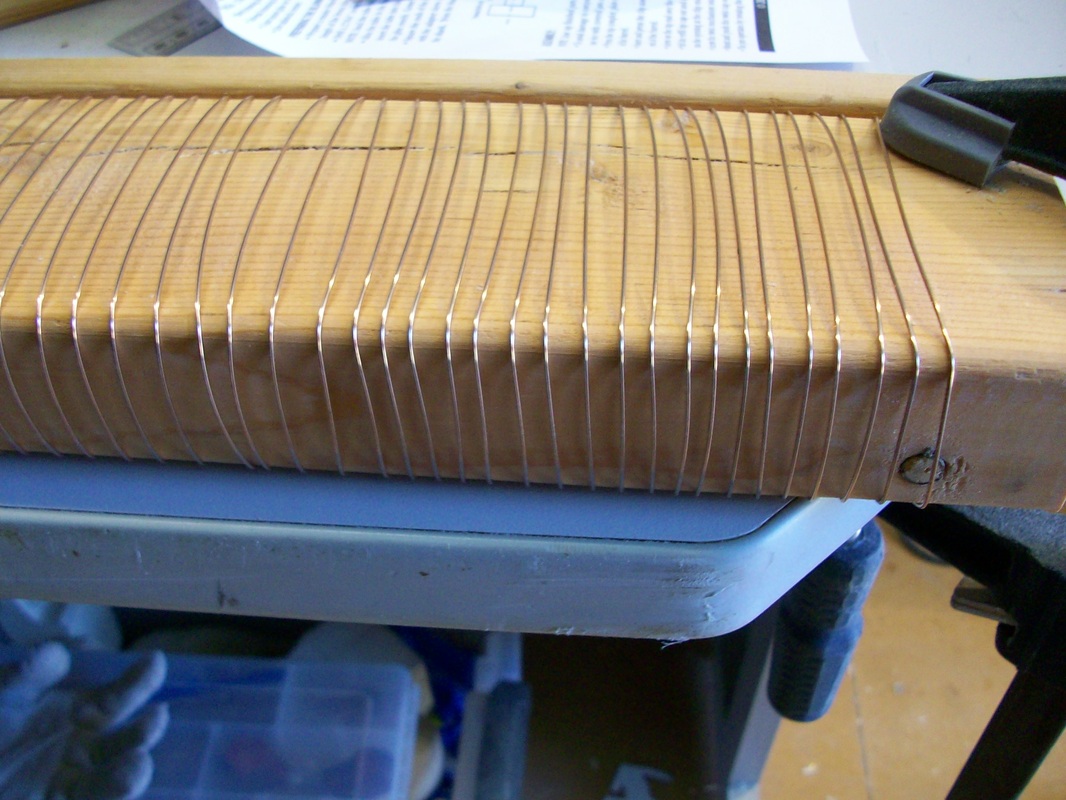
Using Chicago Welding wire .035 From Harbor Freight, I wrap it tightly around & round a 2x4. First bend a right angle in the end of the wire and push it into a small hole to hold it in place on the edge of the 2x4 while you wrap it. I wrap about 1/4" apart to give room when I paint it. You will see that in this picture there is a 1x2" board screwed into the edge of the 2x4 after wrapping all the length and crimping the end into the 2x4. This board should be tightly screwed into the 2x4 in at least 4 places with sheet rock screws or simular.

Securely clamp to a table with the edge hanging over the edge of the table. You are going to cut the wires off using a belt sander at the very edge of the wire.
Caution note!At this point you need to realize that the sanding process will create sparks, a lot of them, and hot wires. Do the sanding in a well ventolated area or better yet outside. Read the caution on the wire spool to fully identify yourself with the possible hazards of melting the wire.
If you do not feel comfortable with this process "DO NOT DO IT". |
3rd Step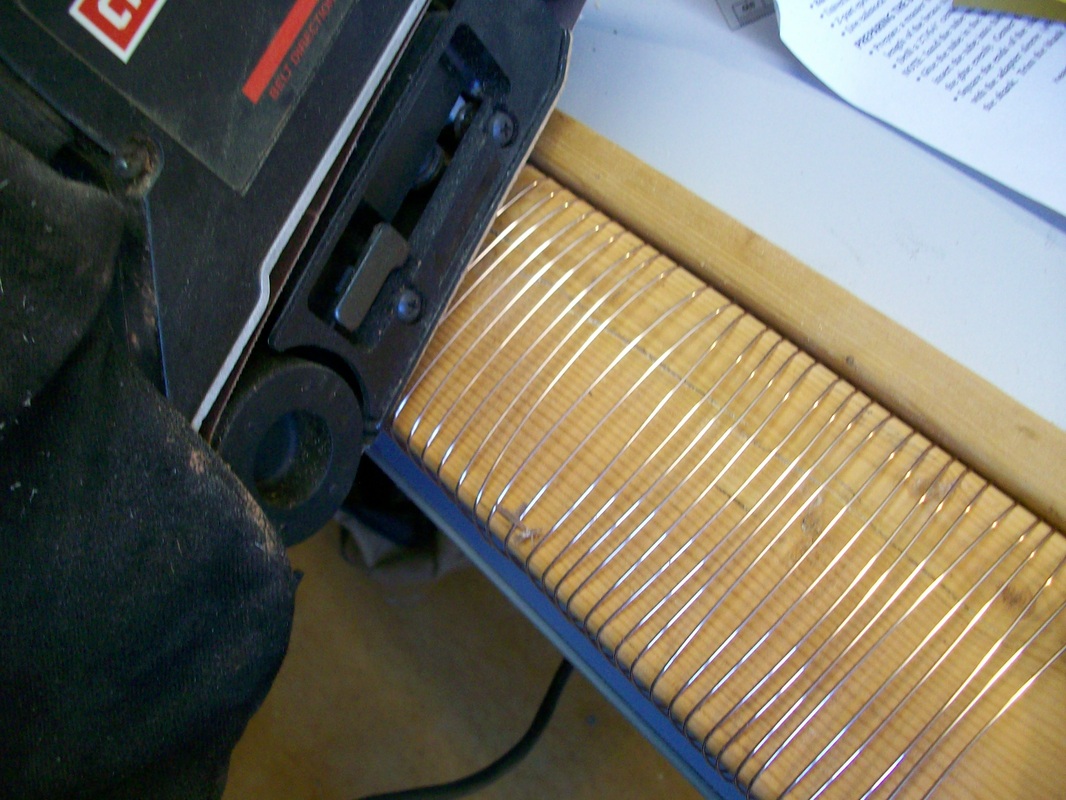
Using a belt sander pulling it down the wires, never side to side, as it will get caught up in the cut wires. Wear safety glasses as sparks will fly and the wire will get real hot before it cuts threw by the sanding. Do this on both sides of the 2x4. You may need to put an additional board clamped down on the second side as the wires will snap up as they are cut. By using the belt sander to cut the wires you get a flattening of that edge as opposed to a blunt end to the needle.
4th Step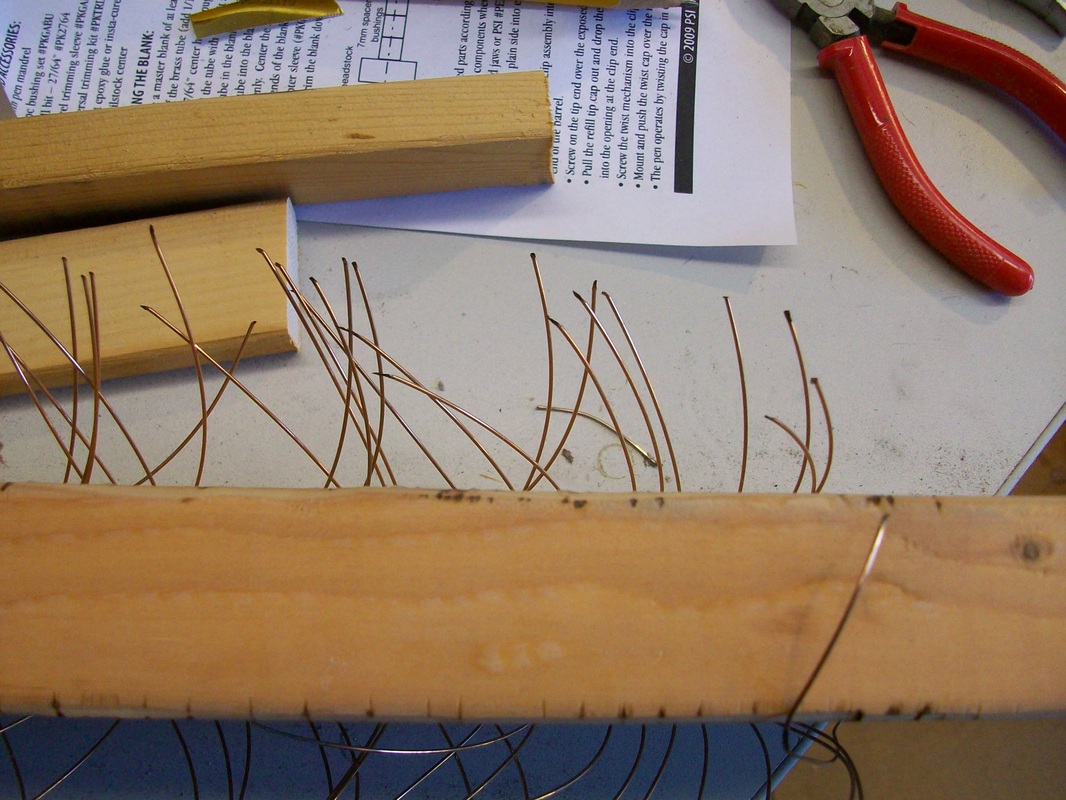
You can see the wires are all cut loose. Now on to painting.
5th Step
Using a green spray paint, color of your choice, spray the needles, both sides of the 2x4 and the inside next to the 2x4. Be sure and get several light coats of green paint to cover the copper. Turn the assy upside down to make it easier to paint the sides near the 2x4's. Note the curling and that some needles touch. Take out in the sun light to check for missed areas. The copper finish will really shine in the sun or a bright light if not covered good.. Re-adjust needles a little and re- spray untill all is covered. I use a brown texture paint Rust-Olum Multi color texture ( picture of the can in the Granite base post), to get the speckled look. Just dusting it lightly, very lightly, if you get to much just paint it green again.
Here they are in a pile after taking off the 2x4. The only thing you need to do now is snip them apart and clean up the ends some. You may want to dip the tip in some watered down yellow ochre to give the tip a withered look. 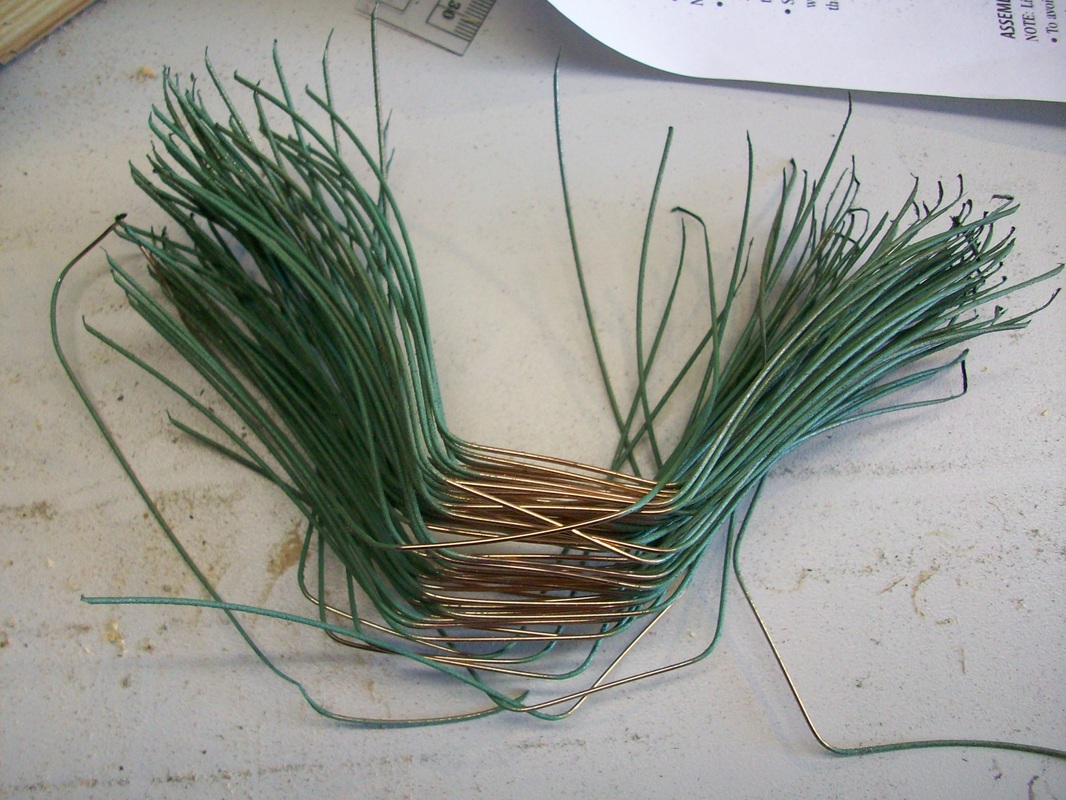
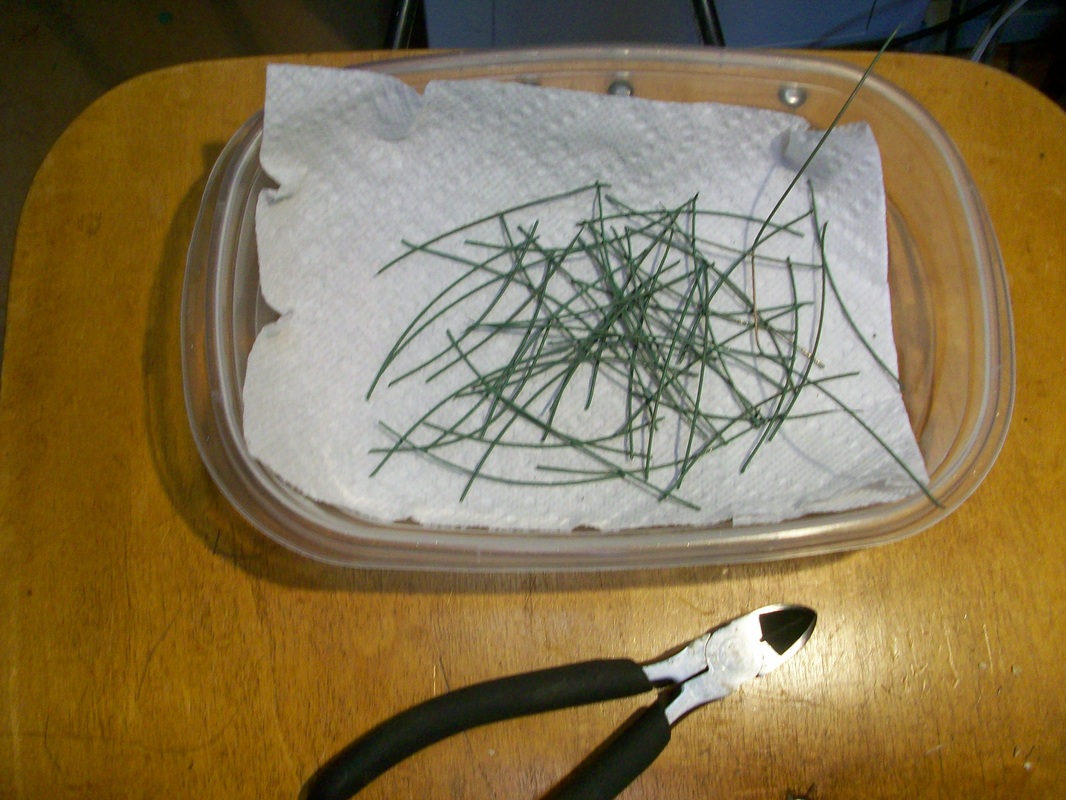
Here they are all cut apart and ready for final assy to branch tip. I noticed I did not get enough green spray and some show copper through the mist coat. I will redo them and next time spray at least 4 green coats before the brown texture. Just got in too big a hurry on this one. Note you can cut these shorter to get a 1/2 size pine tree tip. You can save these that did not get a good coat by spreading them out on a news paper and green spray over them, let dry good, move to another clean piece of newspaper and spray other side. If you spray on a coated paper they may stick to the paper. Then move to new paper and brown texture coat each side.
|
Brass Leaves & Grass blades
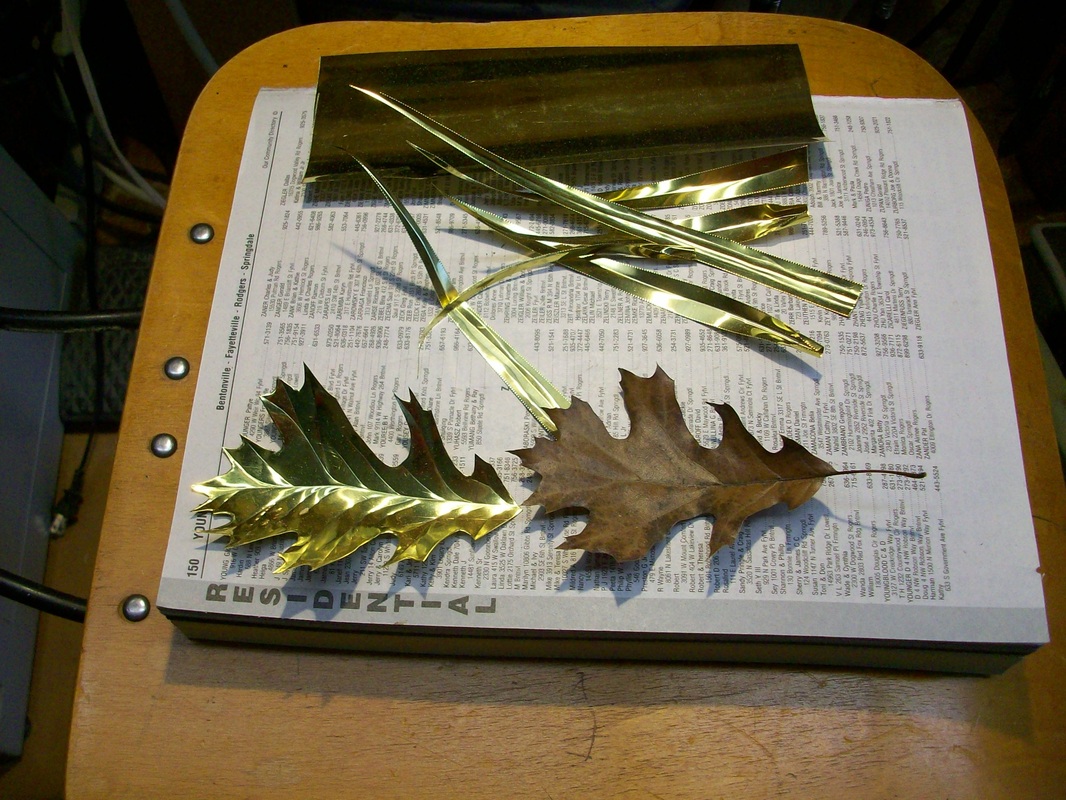
Leaves and grass of brass. Click on pictures to enlarge some.
. 
|
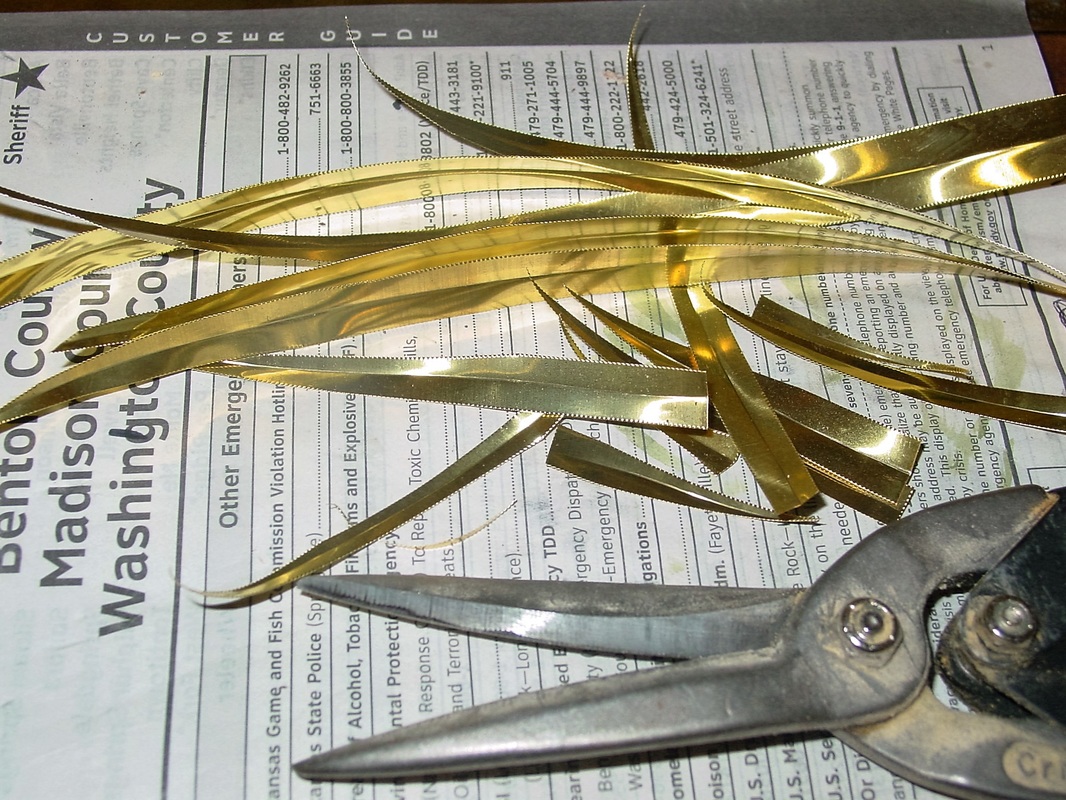
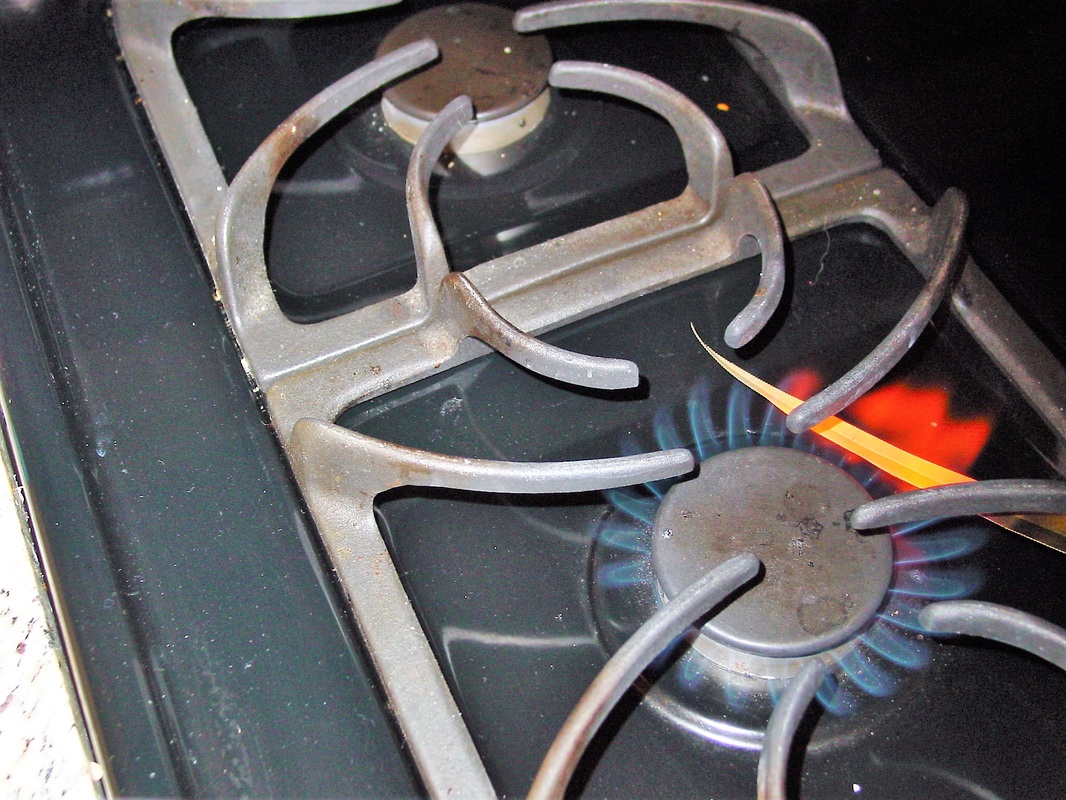
Brass is just the standard sheets. I cut the grass using sheet metal cutter that gives a serrated edge, when you heat it to red some of it burns off making it look like real grass. Leaves are cut with plain scissors. Using a telephone book as back up I use a stylus or similar to indent the veins in the leaves. I heat both on the gas stove to red and allow to cool on the counter. This gives it the consistency of cooper. You can bend it if you are careful wrapping it around a paint brush handle or paint bottle. But you need to paint it first. I used Rust-oleum spray paint of a light green color. Give the leaves a light coat and allow to dry over night, then use several washes of acrylic paint. Final coat is a very light misting of Rust-oleum Multicolor textured rust color. This gives a speckled effect. Dry over night and bend it to your liking, do not like your first attempt you can keep bending till you are happy.
|

