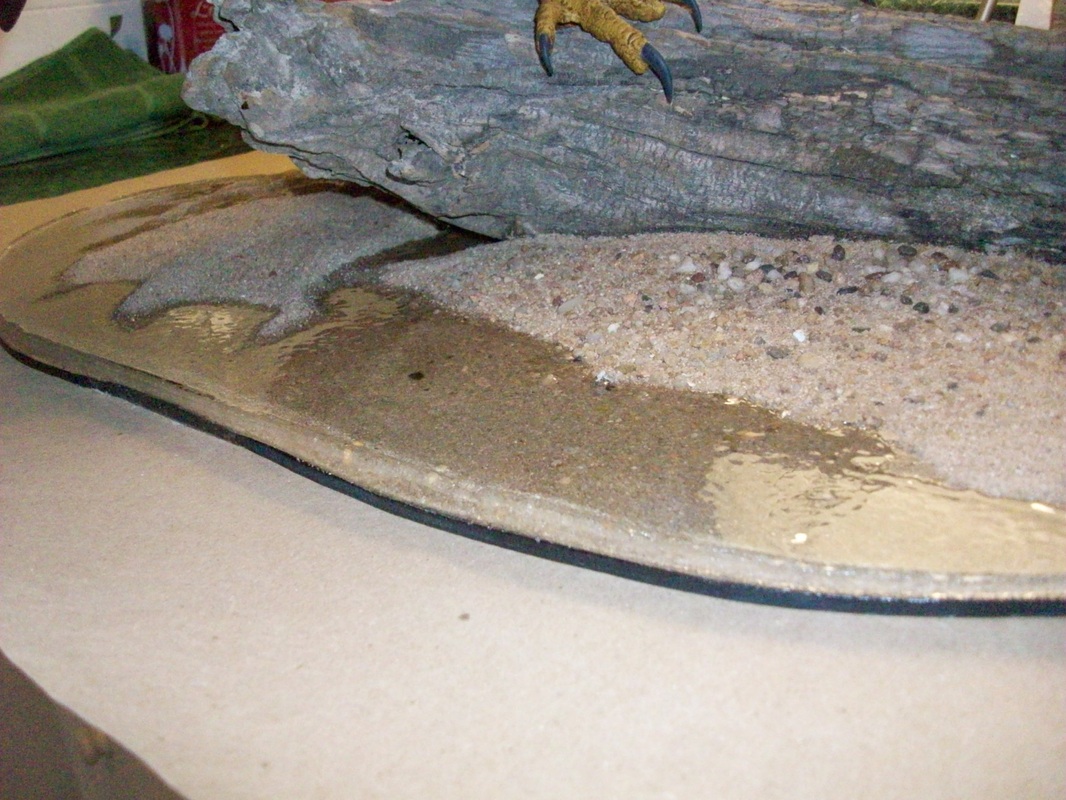
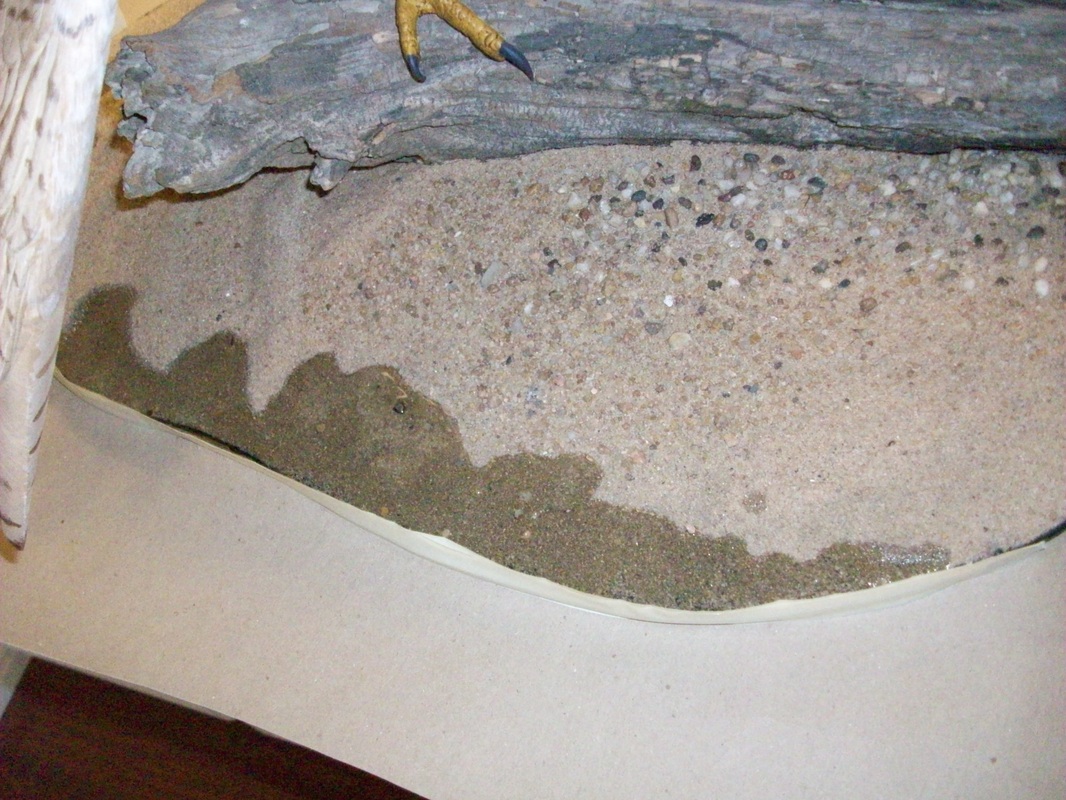
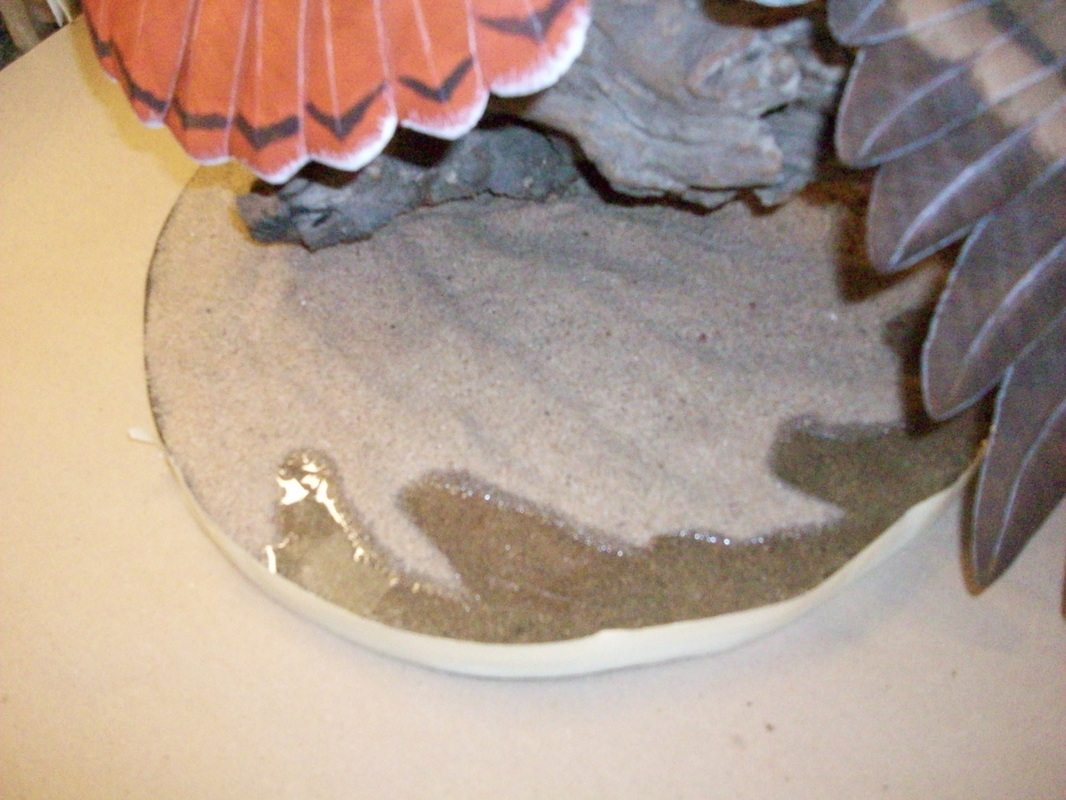
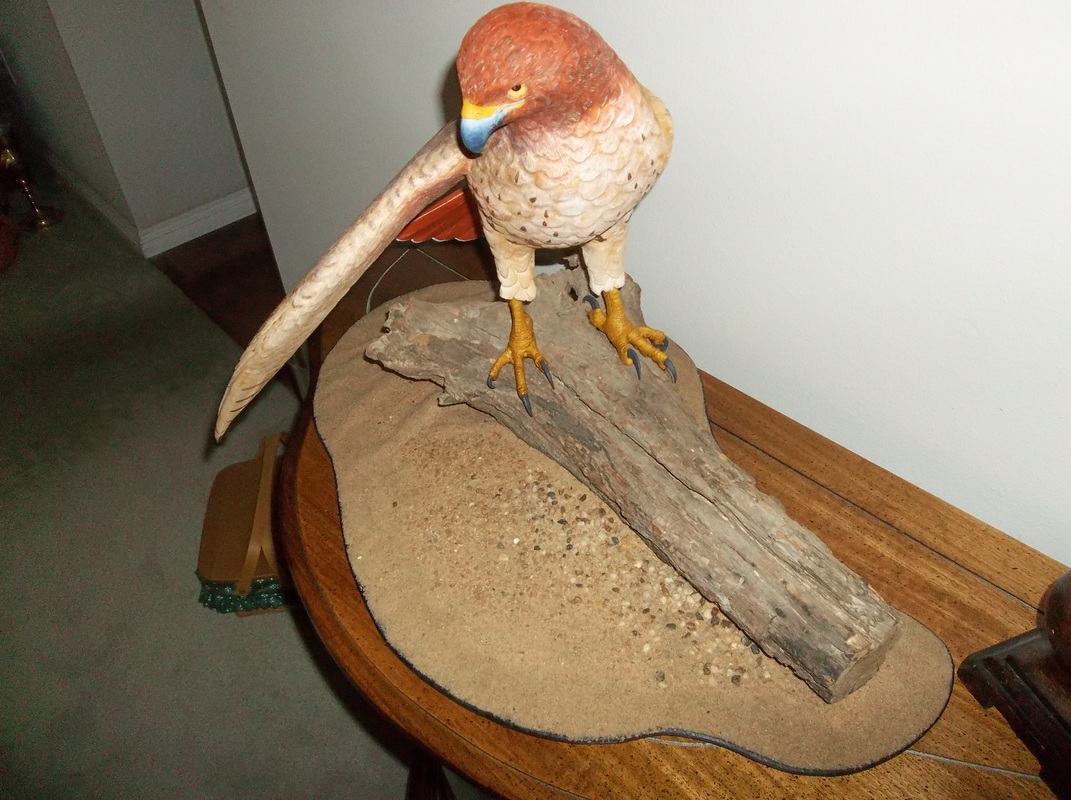
Well here is my water hazard! This is done in 3 pours to get the 1/2" thick edge. Note that I made a dam from Drafting tape. I tried the blue tape in the past but it reacted with the glue in the tape and leaked the acrylic. Regular tan masking tape seems to work best. The acrylic I used is the standard one available at Hobby Lobby. See my technicques tab for more information there. Nothing really complicated here, just read the instructions on the can and go. I did this one over 2 days to get a good cure, but you could do it in the same day. .
You know I just realized this morning that carving is really the Journey and not the compleation of a project. In the process of carving the Red Tail Hawk, I compleated several other projects over the 3 years, but the most fun was deciding how I wanted to carve the hawk and creat the habitat. I expermented on several ideas and 3 years ago I settled on this layout. Sigh!!!... now down to the work. After making a few deviations, I accomplished the pose I wanted. Then how to display it. As you see it here, it looks just Ok to me, but it is missing something. The idea of including maybe a few Trout Lilies, a yellow star shaped flower along the log. I have always liked orchids and at one time had over 300 in a green house. Maybe..., just maybe, yellow lady slippers, just maybe they would look good to the right side of the carving in frunt of the log, but how to carve or create them. 5 is the number I think I need, you know 3 is not enough and 10 to many, maybe another 20 or 40 hours, but it is the journey! First I thought I would do the paper sculpting process, no I did not like the final result, not smooth enough. Maybe metal, no too dificult to get the rounded shape, tupelo, OK, but how to hollow out the inside. I think I have that worked out, now to the carving. I plan on doing 3 of the slipper parts together, power carve the shape of the outside, cut the group in 1/2, hollow out the pocket, glue the 3 back together, do the final shaping. Make the twist part from brass and the leaves from brass too. The stem will be copper or brass rod. We will see how this progresses. To be continued. It is nice to finally finish a project that you have worked on for a number of years. You becone somewhat attached to it, almost like one of your children. Hate to depart with it so this one will be one of the keepers, even though it is quite large.
Well on to the next project, or better finish up some I have in the works. Hope you enjoy this one as much as it carving, painting and laboring on where I should have done something different. This is the one that is done when I finally abandon it. Finished! |
Archives
April 2022
Categories
All
|