Sanderling habitat
First I sketched a pattern outline for the base on 1/8” ply
board from Michaels. Sprayed a flat black on the edges, allowed to
completely dry. Located the sanderling and drilled the mounting
holes. See picture below for layout design.
board from Michaels. Sprayed a flat black on the edges, allowed to
completely dry. Located the sanderling and drilled the mounting
holes. See picture below for layout design.
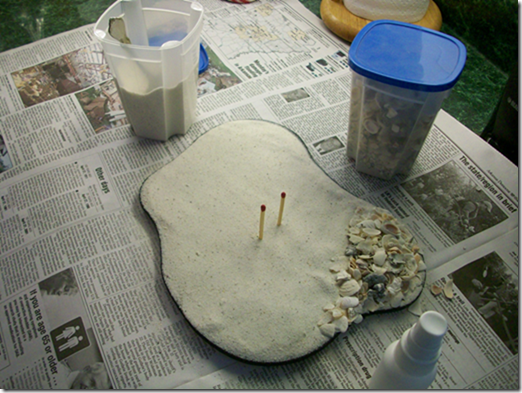
First Stage layout
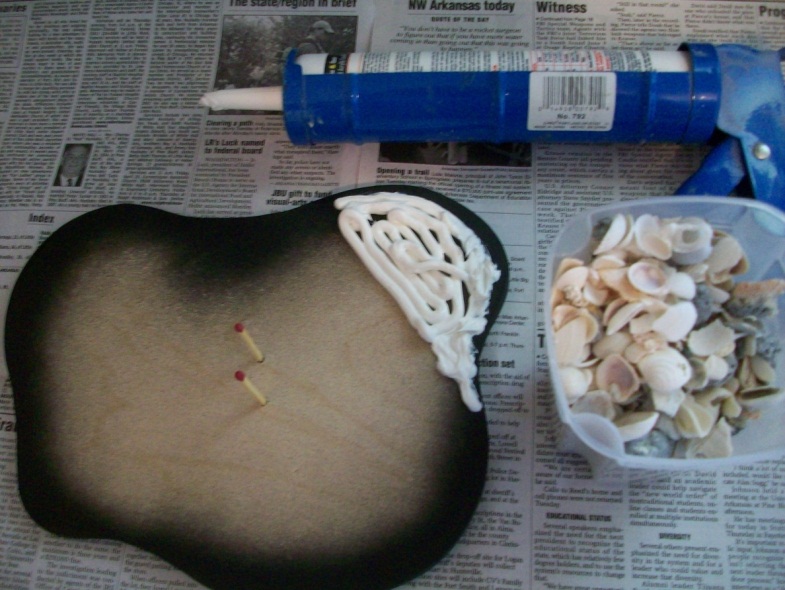
Next I used a white paintable calk and made a pile of calk where the shells would go, dumped shells over it and pressed it down, leaving a rounded effect. By using white calk, areas that are not entirely covered with shells do not show up. If there is an open area, just put a little calk on the shell and press in place.
Let this dry over night, longer if you can.
Let this dry over night, longer if you can.
Next step is to sprinkle white beach sand from Florida over the wood area, keep it smooth and about 1/8” thick. I misted this entire layout with water, just enough to dampen the sand, then vary carefully applied a thinned Elmer's white glue (50/50 with water) I used an eye dropper, careful to not make splashes and keep the sand smooth. If you do end up with little craters or ridges, just very lightly sprinkle more sand over it. Then I sprinkled a little sand around some of the shells, not over the entire area. This duplicates what you see on the beach. The 2 matches keep the
holes open to mount the sanderling. It is almost impossible to drill
through the sand later and will very surely dull your bits. Allowed to dry over night, longer if possible. Use a fan to get
the sand completely dry.
holes open to mount the sanderling. It is almost impossible to drill
through the sand later and will very surely dull your bits. Allowed to dry over night, longer if possible. Use a fan to get
the sand completely dry.
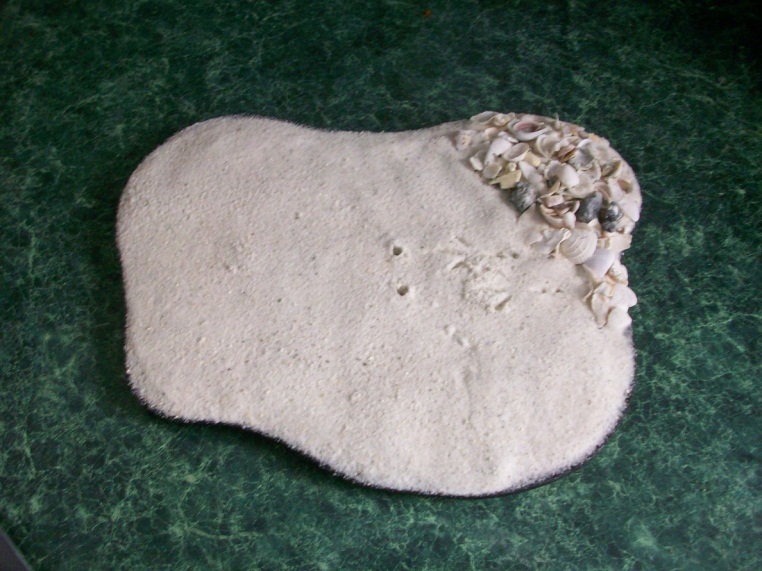
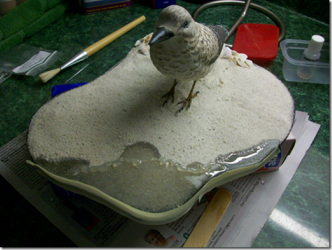
Remove the match sticks while the sand is still wet. Also use the feet to make tracks in the sand while it is wet. Mount the bird.
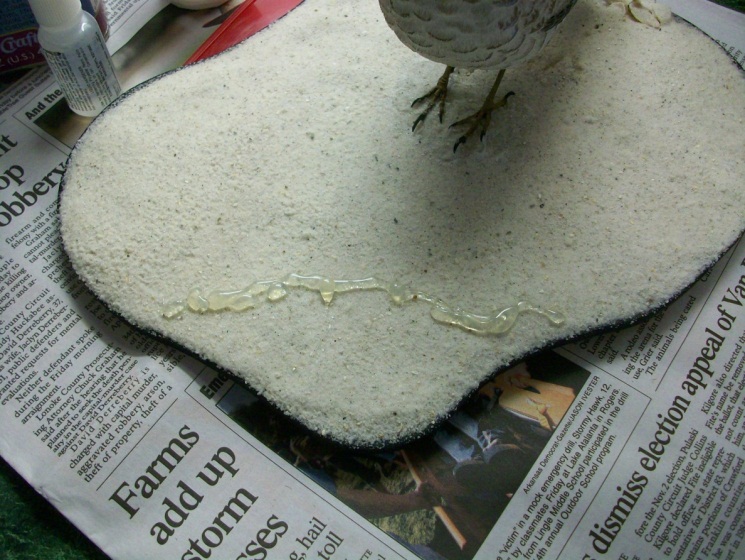
Now is the real hard part. Make a masking tape dam around the
edge. With a hot glue gun I formed a ridge for the lead edge of a small wave, Do not layout a straight line. Make sure the hot glue you use is clear not cloudy type. Make bumps to resemble
bubbles. Allow to completely cool and remove all strings, hair like strings you get sometimes using hot glue. If you have peaks or points tap them down while the glue is hot. This must look like serf bubbles.
Resin layout
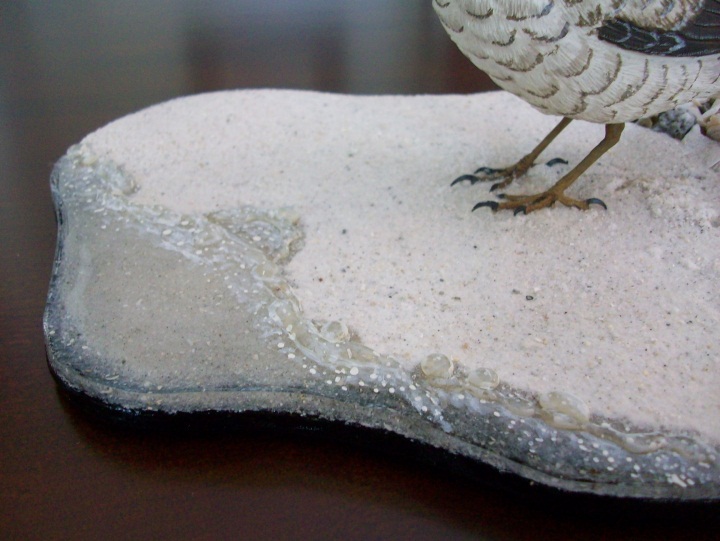
Now it gets interesting! I purchased resin from Hobby Lobby, cost $24.00. Mix according to directions. I used the 1 oz. with 15 drops of catalyst for both pours. The first pour is very
thin when first mixed. Pour evenly. Allow to cure over night. At about 20 minutes it begins to thicken very quickly. The second pour I waited 15 minutes then poured it over part of the layout, it is still very thin at this
point. Watching the jelling effect in the mixing cup I made the final top off pour next to serf line at about 25
minutes, just seconds later it was too thick to use because it would not lay out flat like water. This really happens fast, from thin to jelled. You really need forms to hold the thickness you want as the quick jell time does not allow you to make a thick poor.
As you can see it is not quite finished. Allowing to cure for at least 2 days, I
will detail with white acrylic paint the bubbles.
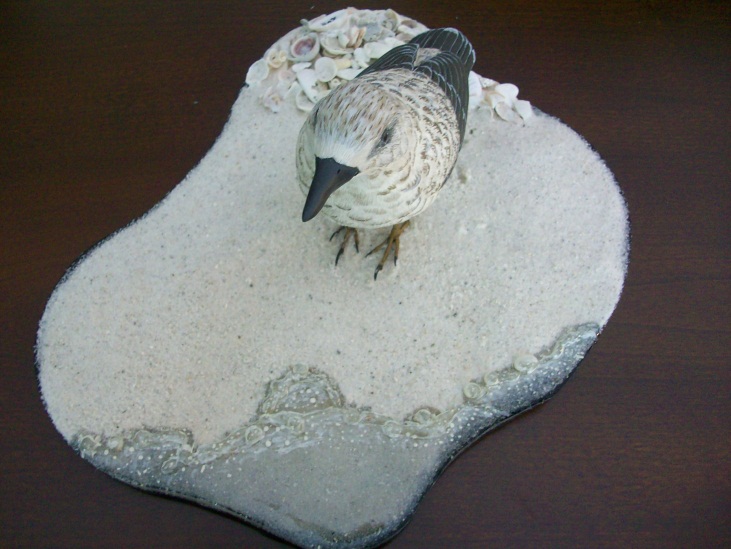
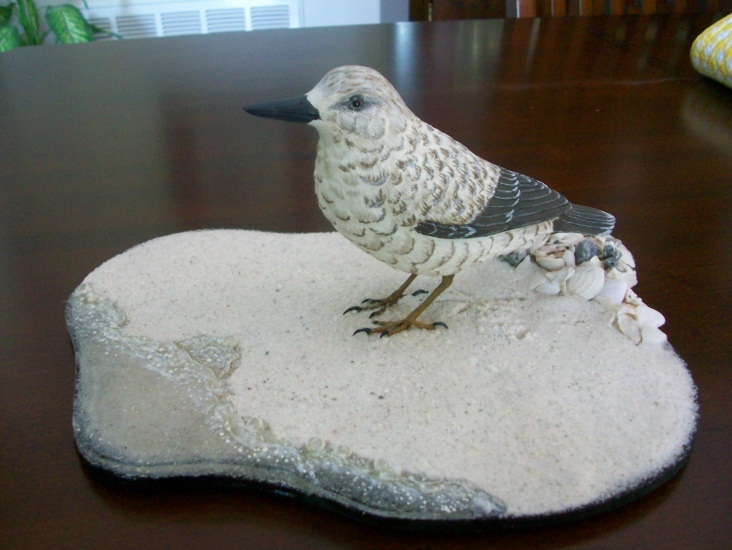

All done. I shaded the edges of the bubbles and added some “beach sand” Delta paint to give some shadows. Used a tooth pic and a filbert brush #4. Try to not make it too sloppy looking. Take your time and leave some of the tops of the bubbles clear.
Have fun, this was a real challenge but turned out pretty good. Of course the next one will be better.
Charlie Wolfe
5/2011
Have fun, this was a real challenge but turned out pretty good. Of course the next one will be better.
Charlie Wolfe
5/2011
