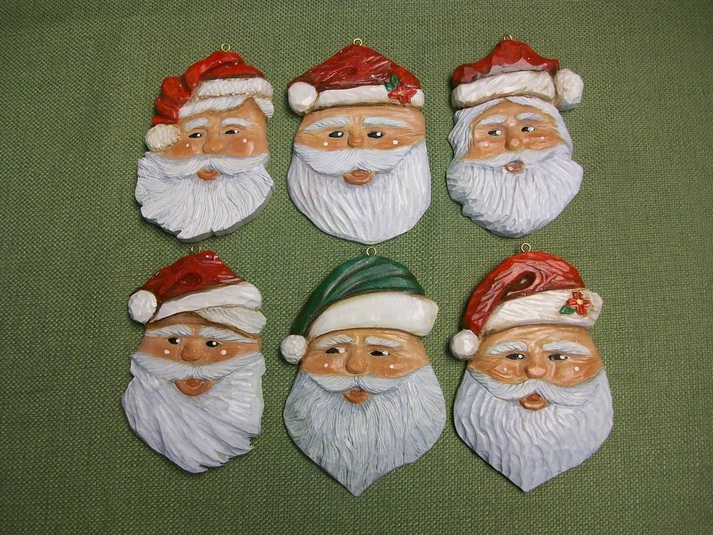
Christmas Santas
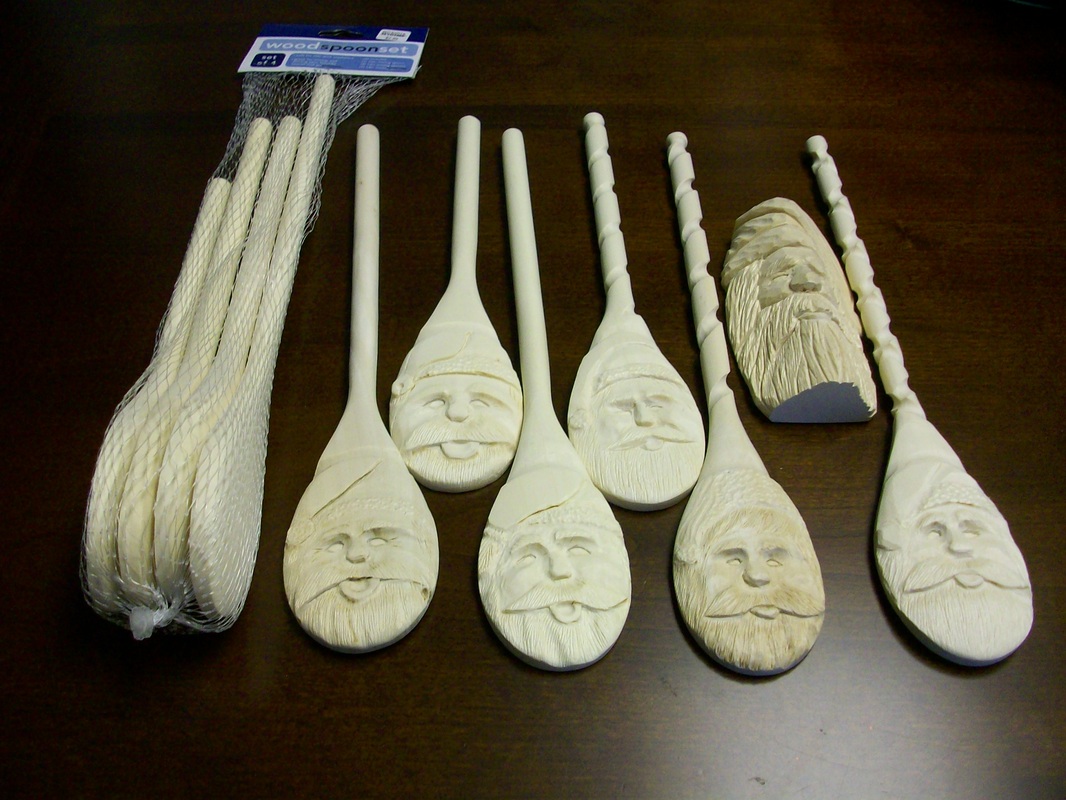
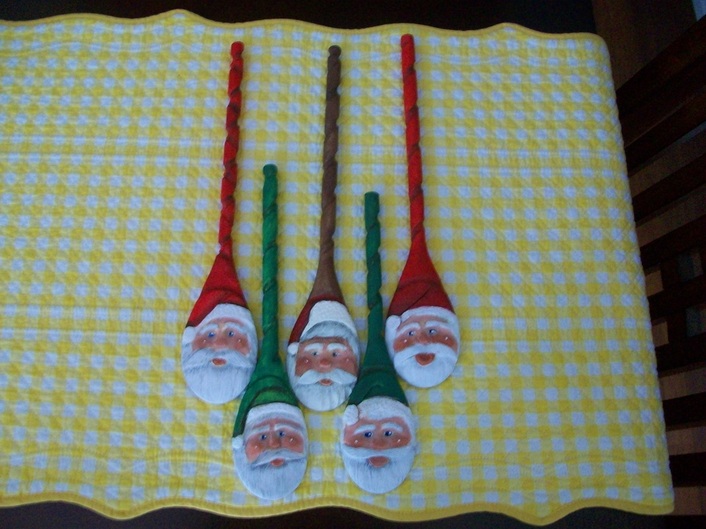
As promised here are the tips for power carving spoon santas. I purchased 4 spoons from Bed, Bath and Beyond for $2.99, they seem to be from basswood, but I doubt it. Wood is harder and fuzzes much more. That is why I switched to power. I took several patterns from some to the Fox Chaple books and revised them some, as you can see none are identical.
Click on pictures for a larger image!
Click on pictures for a larger image!
Basic cutting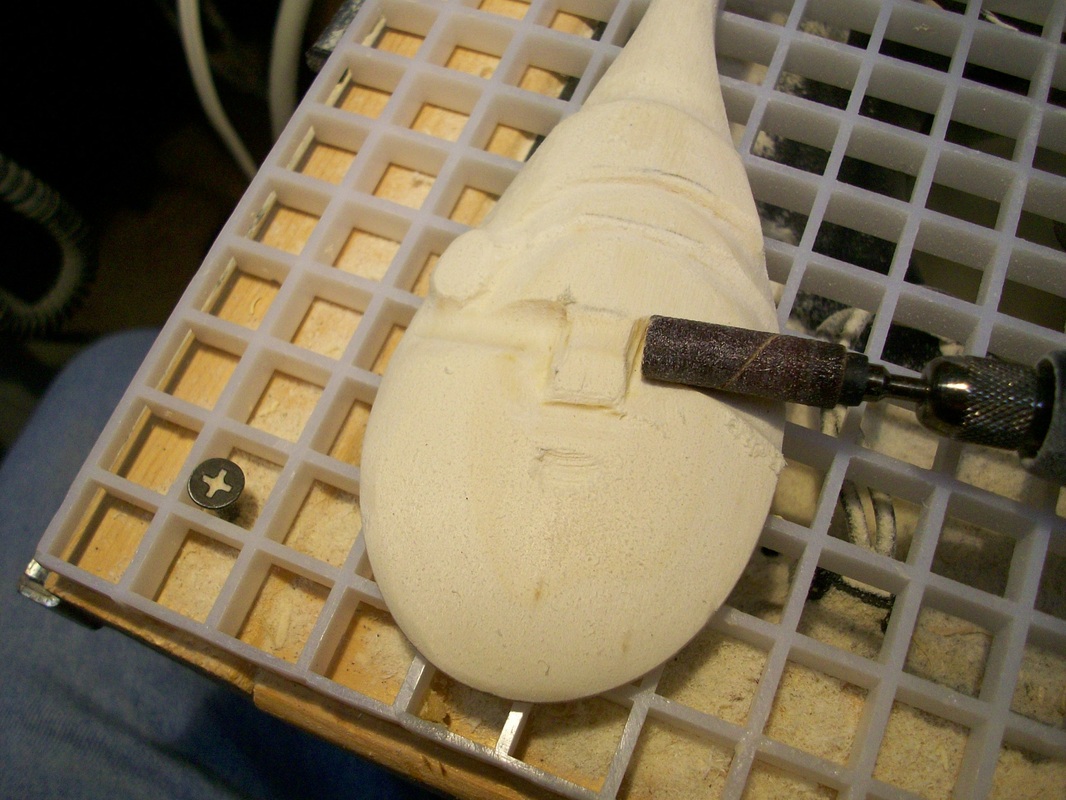
Using the 1/4" drum I cut the basic outlines using the edge of the drum. This gives a result simular to a "V" tool. After defining the layout I proceed to cut in the eye trench and cut in the nose. These are not final cuts but roughout cuts.
Smoothing for final detailing
Here is where the split mandrel works so well. The tip is soft and bends and can be used to fit into all areas.
Spirling the handles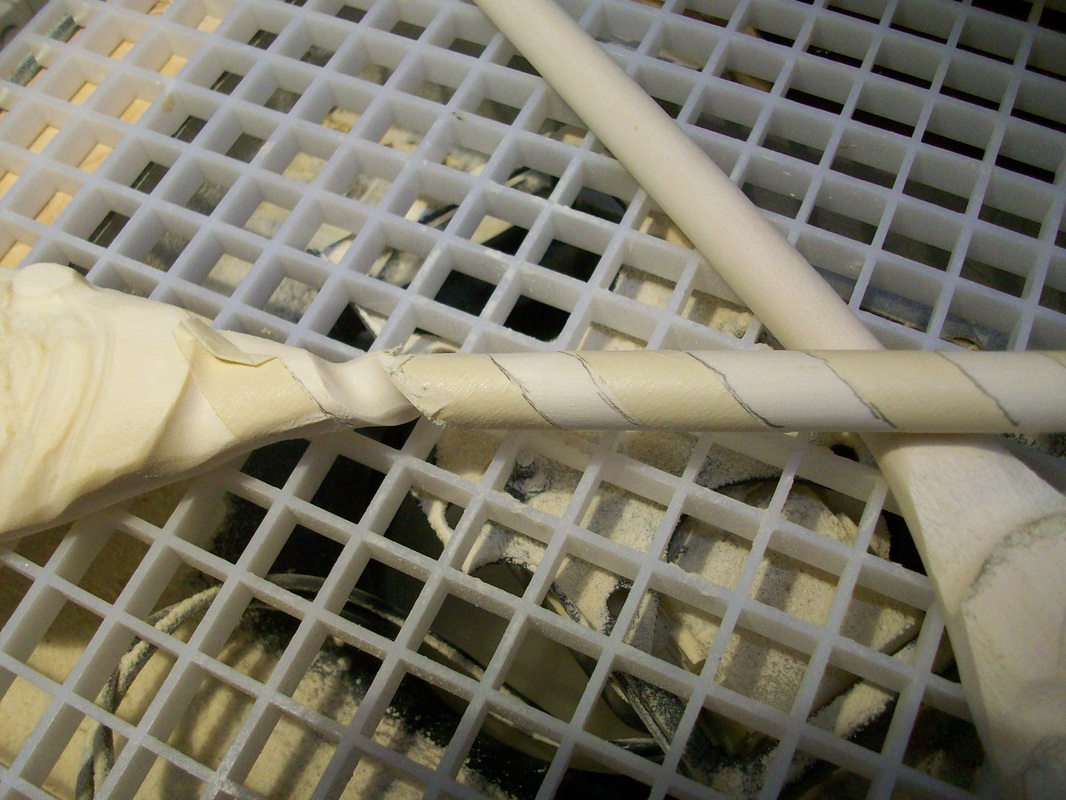
I use 1/4" masking tape to get the spacing right. Using the 1/4" sanding drum you follow the angle around the handle. Do a shallow run first and follow up with the final sanding. Pull off the tape and run some sand paper over the handle to get rid of the edge fuzzies.
|
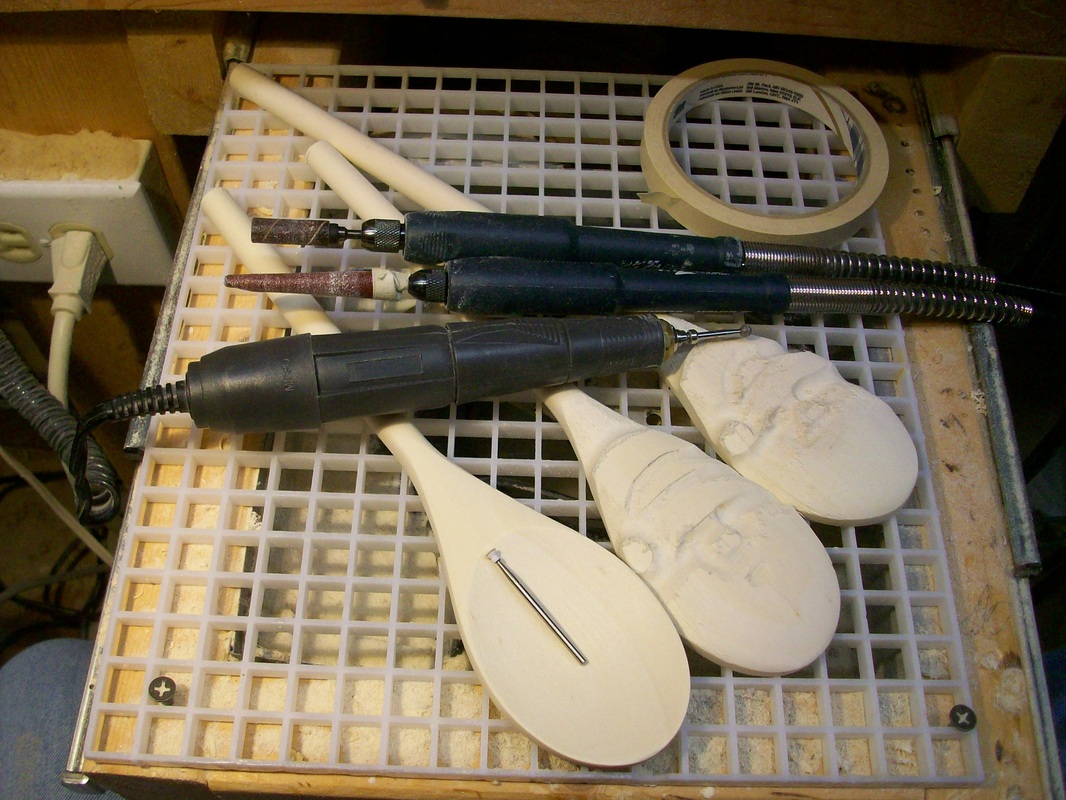
ToolsThese are the tools I used. The one on the bottom is the Ram unit and the other two are old Black & Decker Wizzards. I have used the Fordum unit to cut some of the spirals on the handles using a 1" X 2" drum.
The cutters used are a 1/4" X 1" drum sander sleeve 120 grit on a 1/2" long rubber sleeve. The shorter rubber mandrel helps the sleeve to run cooler. The next one down is the split mandrel with 150 grit applied using a 1/4" masking tape to hold it in place. Next is the 1/8" diamond ball cutter. Laying in the spoon is a tappered white stone that I have altered to a wheel shape about 1/8" diameter. Refining shapes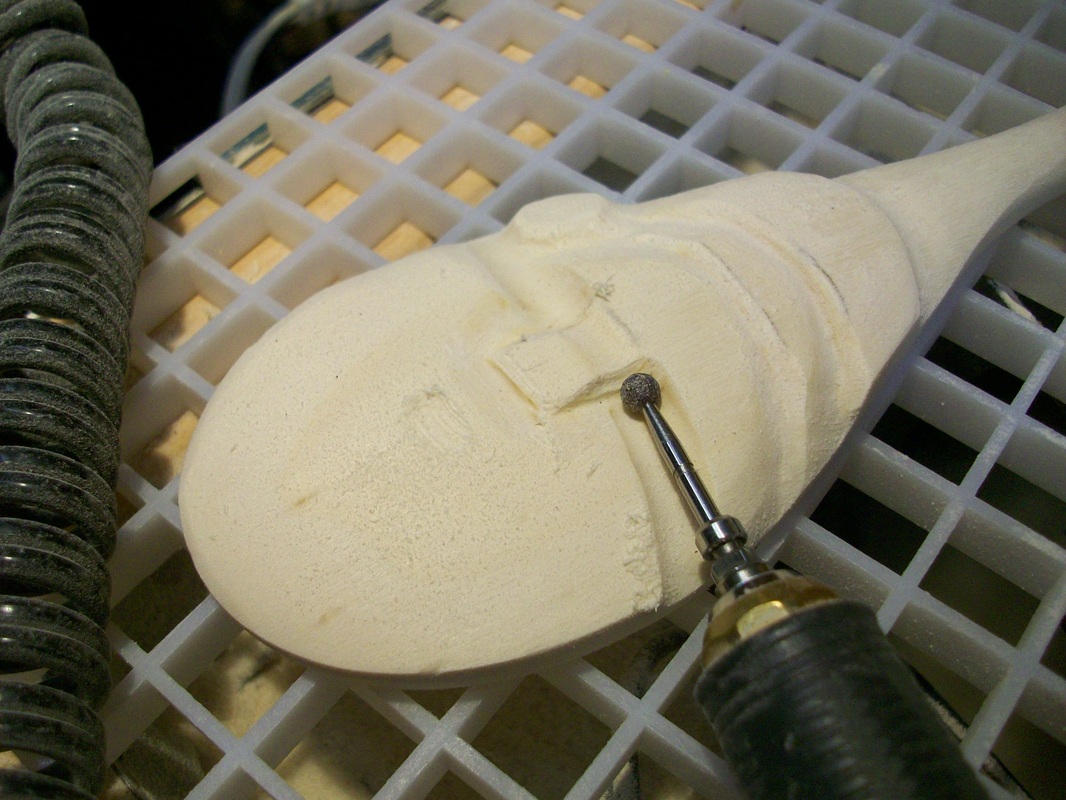
Using the 1/8" ball I smooth out and shape to the near final layout. On this wood you need to run it at 1/2 speed to keep from burning the wood.
Hair and beard detailing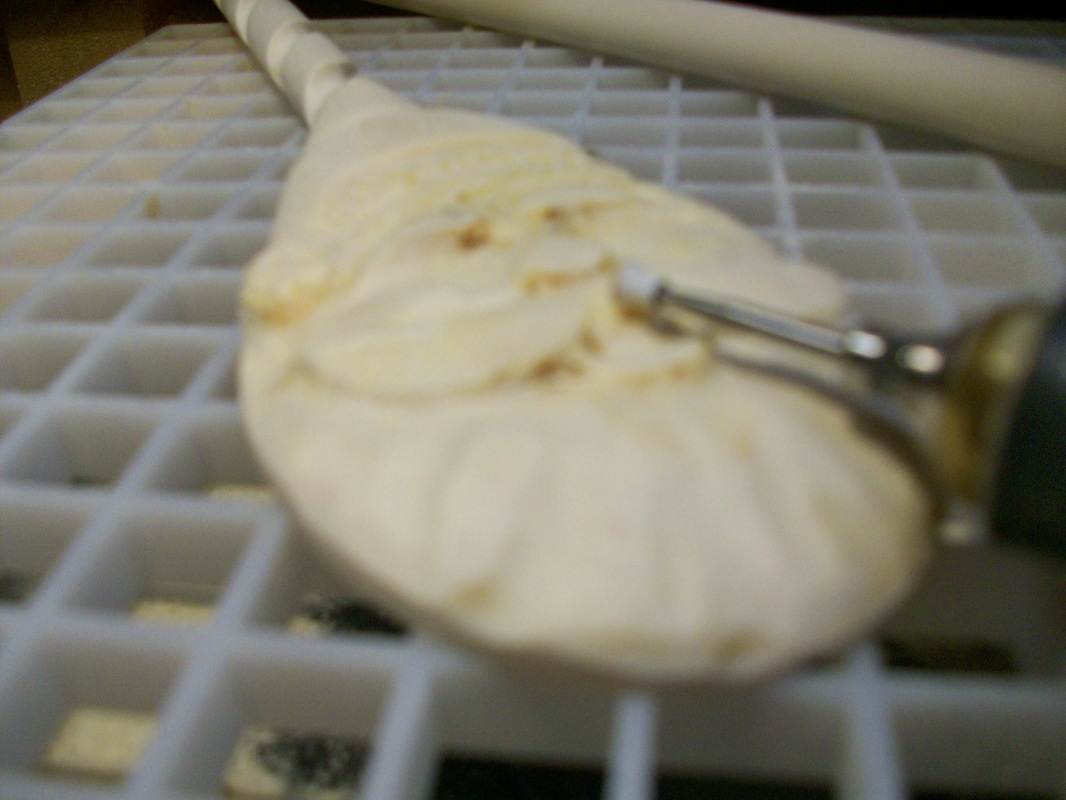
Here I use the ceramic stone wheel to add finer detail to hair. Run at about 1/3 speed to keep from burning. You can also use your woodburner pen to get this same effect.
Sorry the photo is blurry. Ribbon effect on handle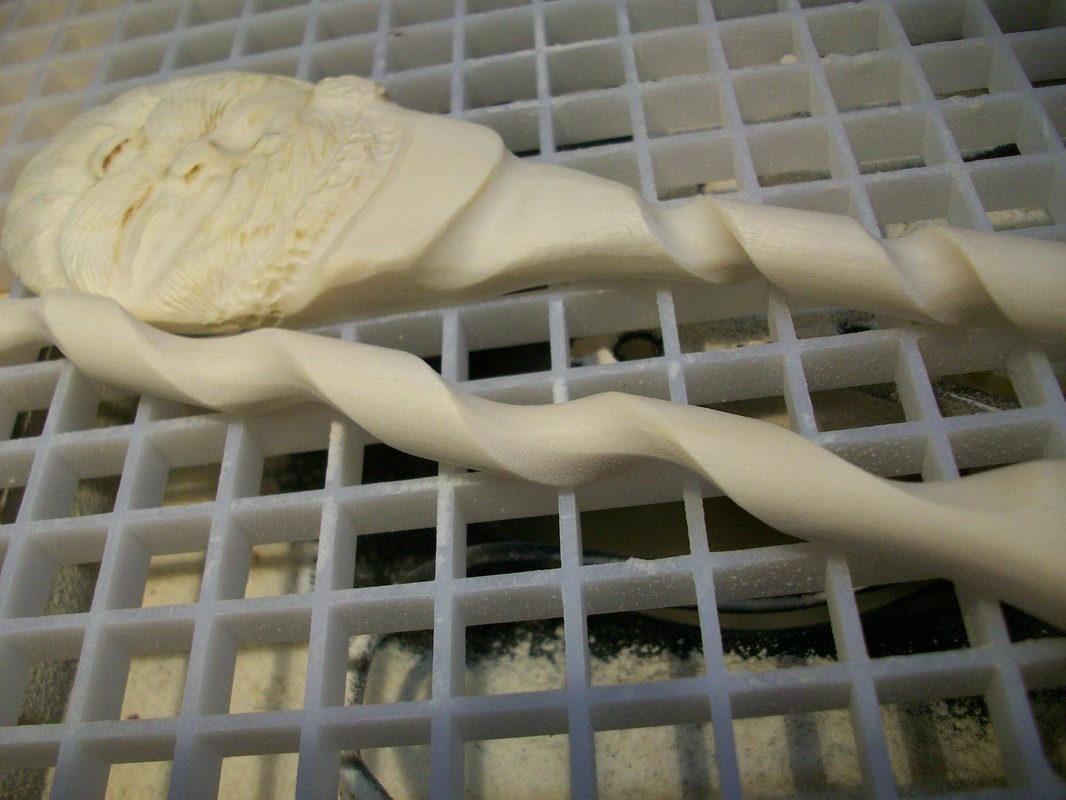
Proceed one step further than the one at the left. Using a 1" diameter drum, follow the previous cut and it will look just like this.
Well that about does it. Any questions, send me an email. |